


|
Electric for Solenoid |
|
Exhaust |
|
Exhaust |


|
Switched by Solenoid |
|
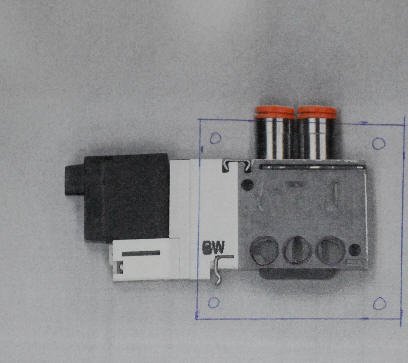
4-5 Port Solenoid Valves |
|
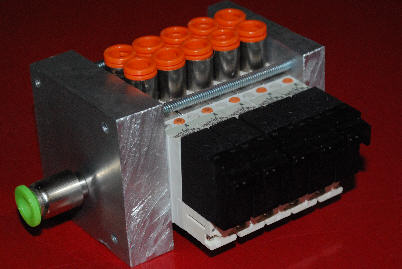
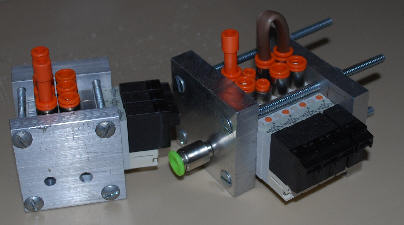
1) Really, this is about precision work. Your solenoids sit side by side with small connectors between the lower ports to provide an airtight seal. You need to understand how your solenoids work, and provide a sealed end on either side to make the pressure line air tight. |
|
If you’re fortunate, your solenoid valves will come with a manifold... mine didn’t. Instead of making a manifold that had all 16 solenoids in it, I decided to distribute my air controls, so I could place them throughout my haunt. In this manner, I run a single supply line to the input, and run the event lines over a shorter distance. |